Before setting up, MDH needs to be upgraded to 1.5.0 or above, and the device firmware needs to be upgraded to 1.0.4.0 or a higher version
We recommend that you import and use the preset configuration files we have prepared. You can refer to the simple tutorial.
Mega MDH Camera Distortion Correction (express edition)
!!!!!!!Before performing distortion correction, please first attempt to correct the canvas to address the issue where the camera image does not match the actual carving position.
¶ 1. Collect pictures for correction
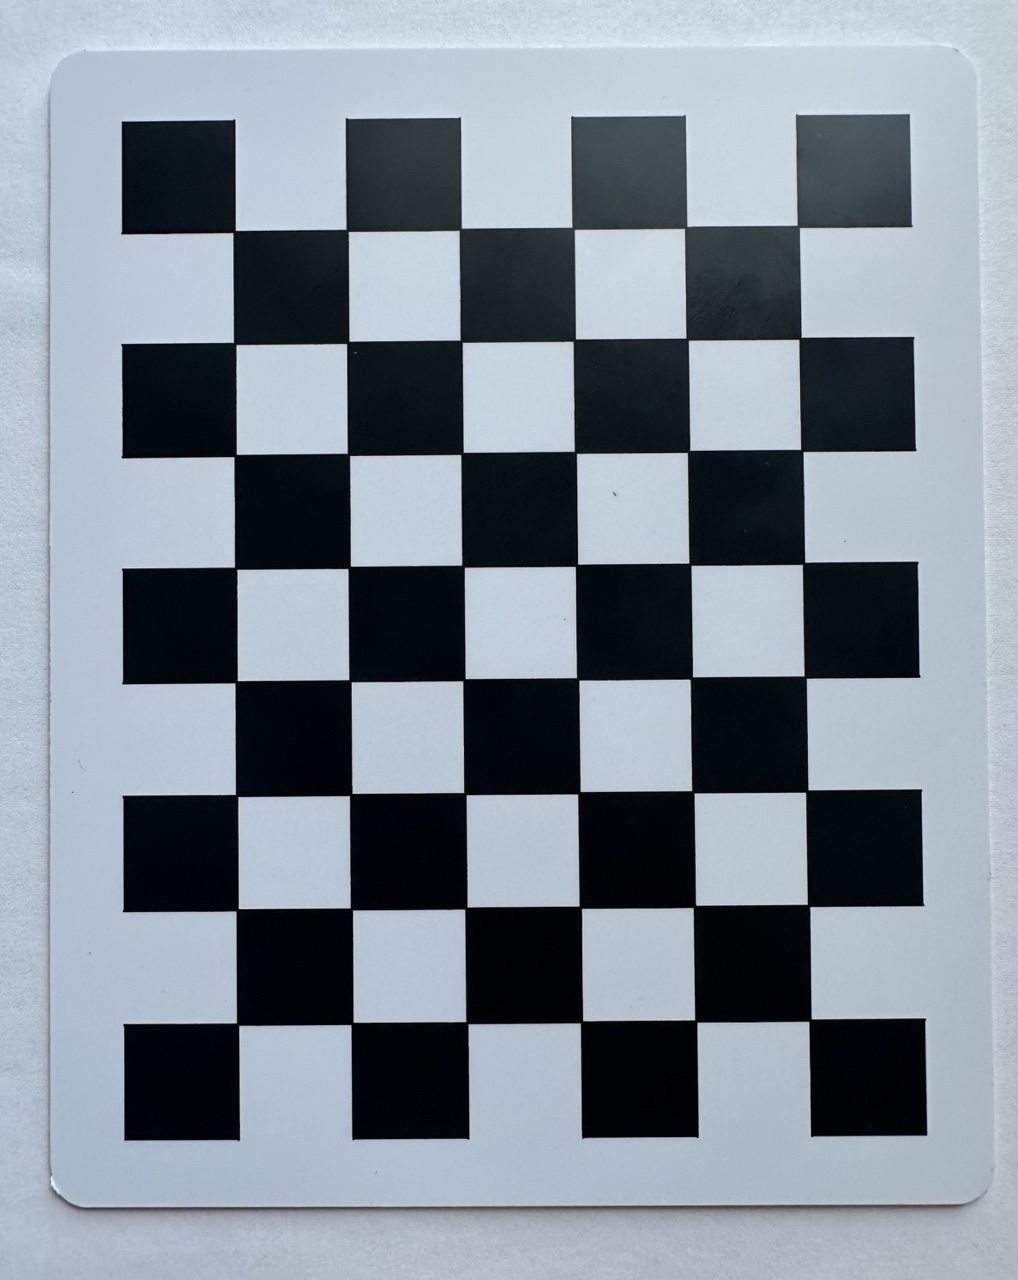
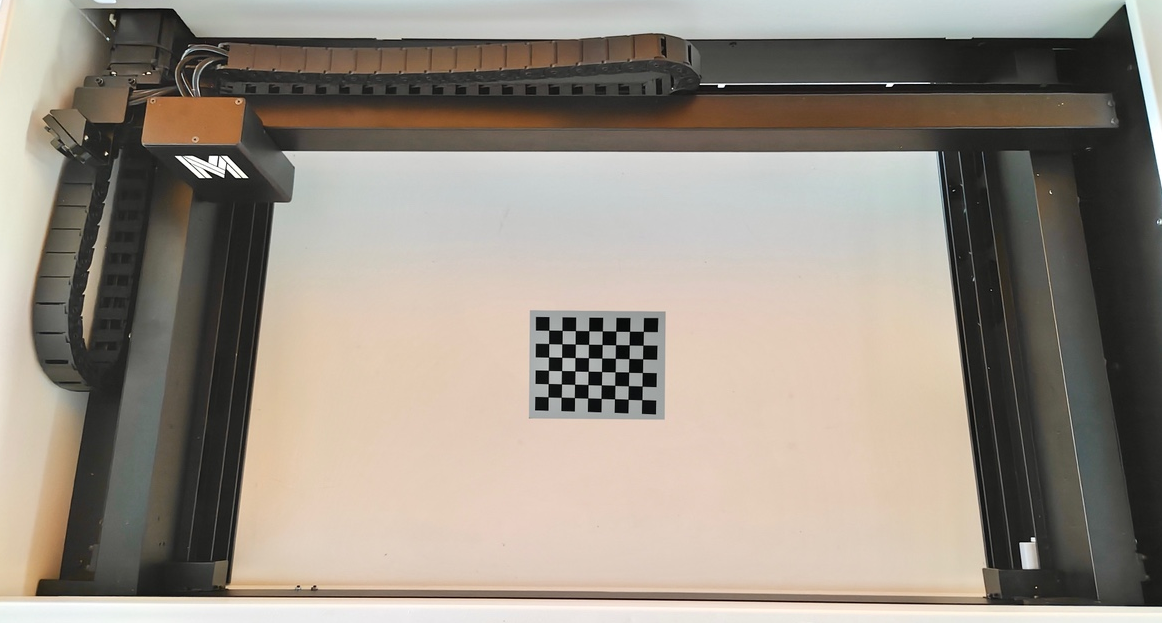
1.1 Prepare a checkerboard calibration board, which can be downloaded through the picture link and printed onto A4 paper.
————————Calibration_chessboard.jpg————————
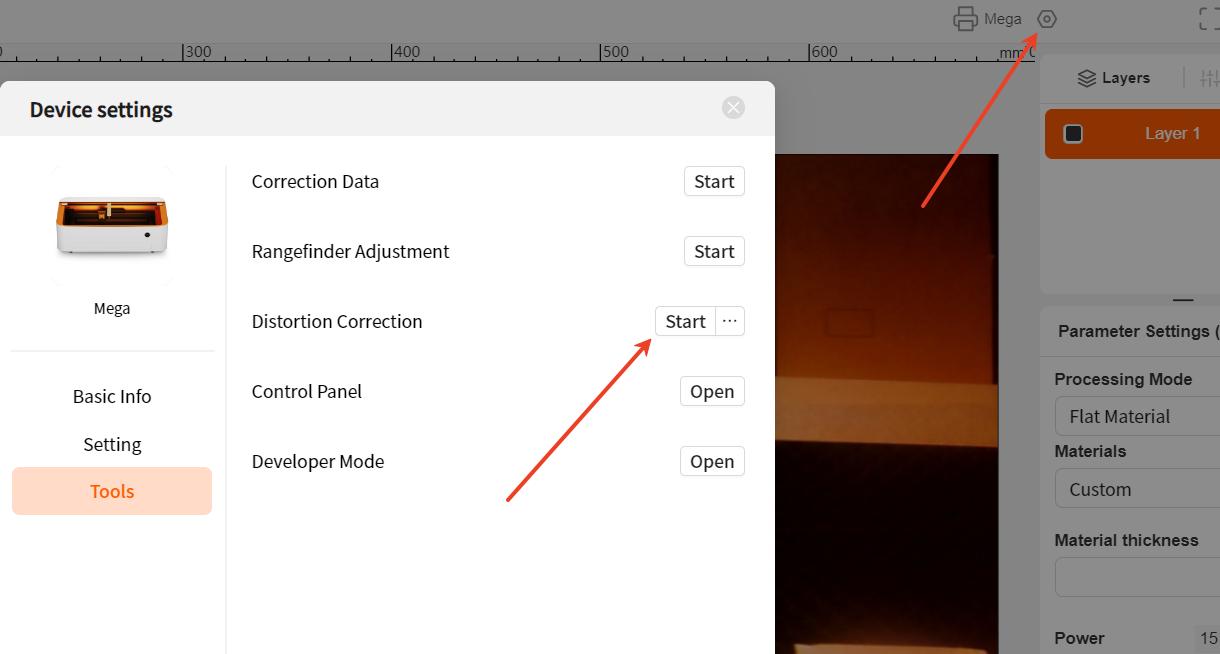
1.2 In Device settings -- tools, find Distortion correction -- Start
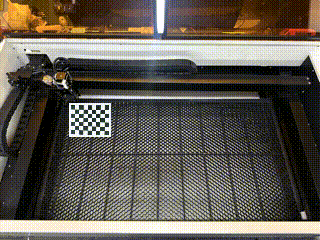
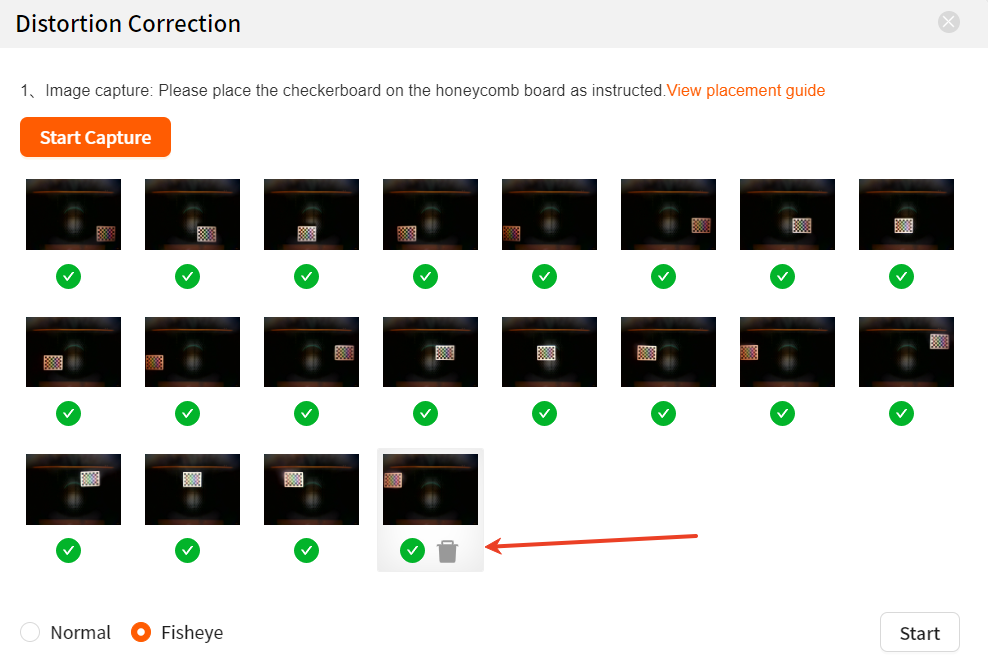
1.3 Place the checkerboard calibration board in a 4×4 layout on the honeycomb board and collect pictures of the placement at each position.
The more valid pictures collected, the lower the score will be. You can also remove the honeycomb board and place the calibration board on the white base plate for collection. Similarly, you can cover the honeycomb board with white paper.
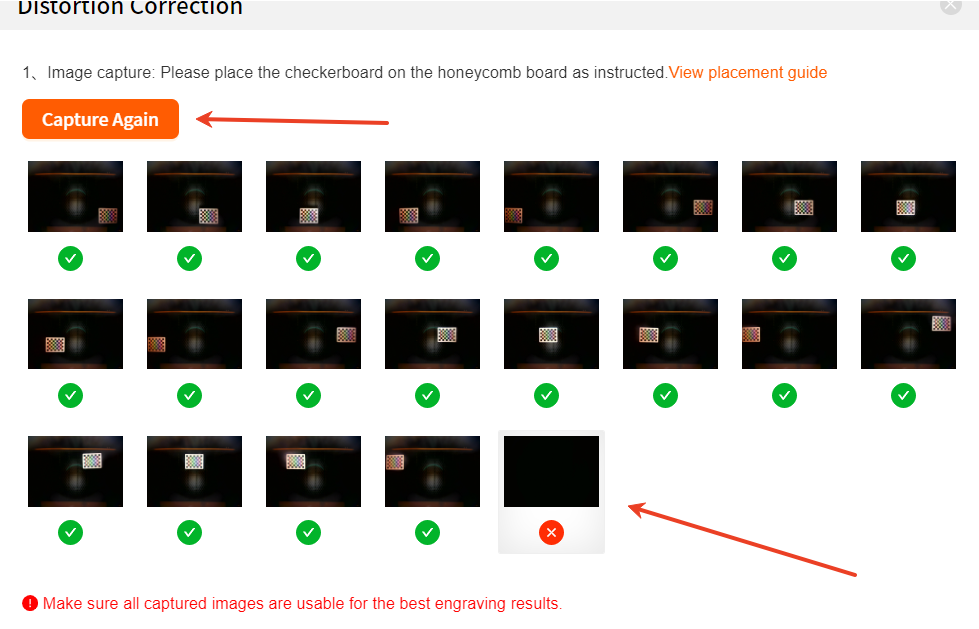
1.4 If you are not satisfied with the collected images, you can delete them and re-collect them.
If the Capture fails, you can click "Capture Again" to re-capture the failed image until the failed image is correctly replaced.
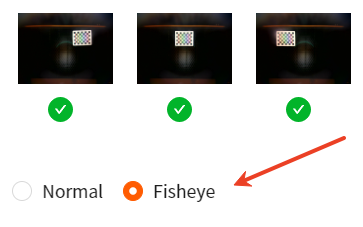
1.5 After the collection is completed, we recommend choosing Fisheye to achieve the best correction effect.
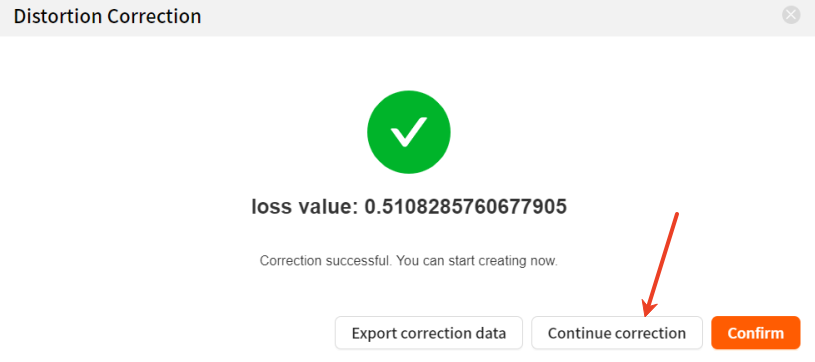
Click "Start" to correct. Here we can see the correction score. The lower this score is, the better. Below 0.5 is fine.

If you are not satisfied with the collection score, you can click "Continue correction" to return to the previous level for re-collection. The pictures collected last time will be retained for you.
1.6 After completing the distortion correction of the collected images, you can reconfirm the effect of the distortion correction through canvas correction.
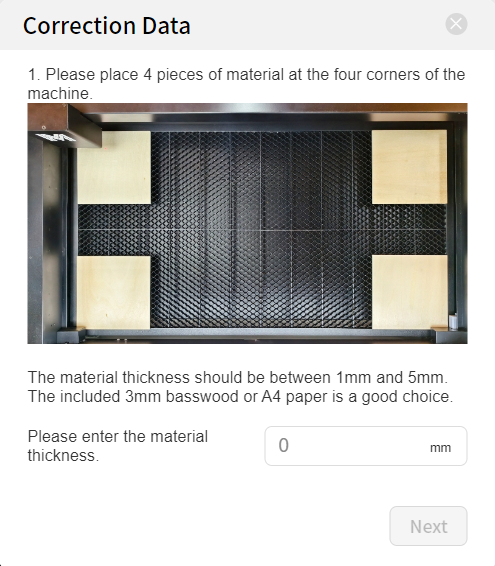
Find Correction Data in the device tools - and complete the correction according to the tutorial.